Search This Site

Custom Search
|
 |
|||||||||
Installing Computer Memory
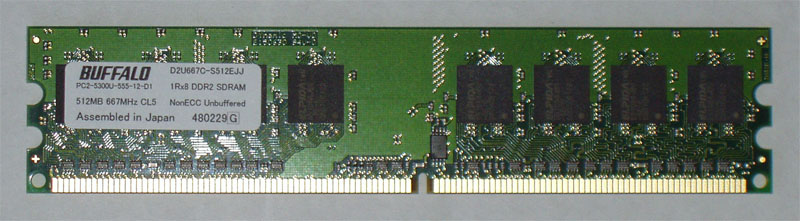
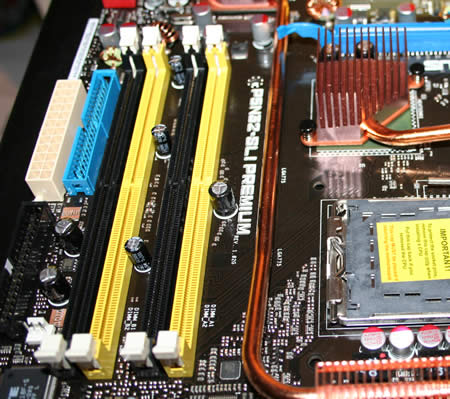
Computer Memory SticksInstalling computer memory is a simple process; computer memory sticks are plug-in ready. Other computer memory types are virtual memory and RAM. What is the definition of RAM? How to test for virtual memory low and run a RAM memory test? PC Memory comes in 'computer memory sticks'. You don't need any screws, wires or cables for the installation. These same steps can be applied to a computer memory upgrade as well.
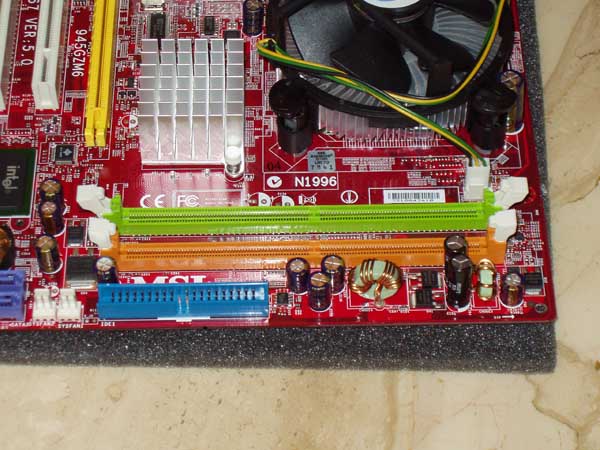
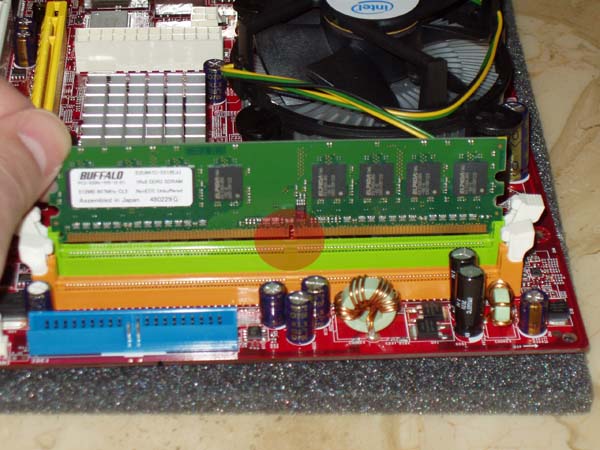
One thing to keep in mind when installing your desktop computer memory is that it has a foolproof design. There is only one way that the memory module will fit into the memory slot. So, to install the memory modules...
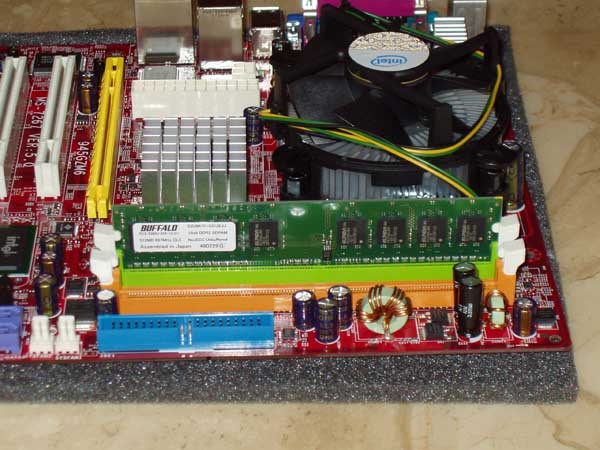
Note: Discussions on computer memory can be confusing. In addition to understanding, and installing computer memory, you need to understand a definition of RAM (random access memory) and what to do when you get messages such as virtual memory low or instructions to run a RAM memory test. Memory is a significant part of your computer system; read more about Computer Memory. That's it, the memory is installed! On to motherboard installation... Step Eight - Installing A Motherboard
Return from Installing Computer Memory to How To Build A Computer? Return Home to Build Your Own Computer |
What's New |
|||||||||
|


|
||||||||||
|
| Home Page | Motherboards | CPU | Memory | Computer Drives | Graphics | Power Supply
| Input Devices |
| Output Devices | Cooling | Cases | Modems | Troubleshooting | Computer Guides | Buying Guide | | Free Games | Computer Software | Green Computers | Ultra Mobile PC | Glossary | Builder's Corner | | Site Index | Contact Us | Advertising | Return to top
Copyright© 2008-2014. Voice Marketing Inc. All Rights Reserved. Read our Privacy Policy. |
||||||||||