Search This Site

Custom Search
|
 |
|||||||||||
Computer Case Preparation
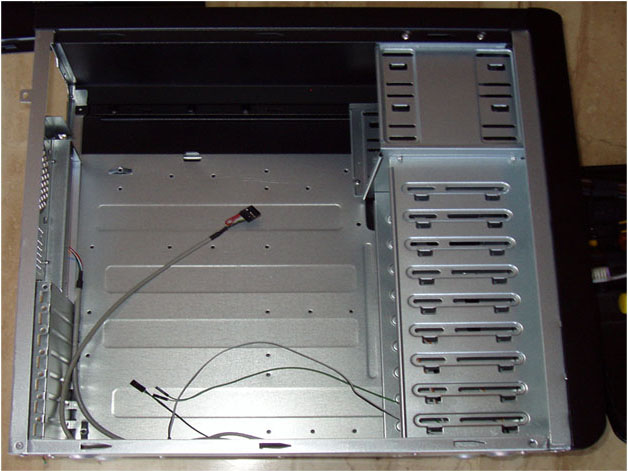
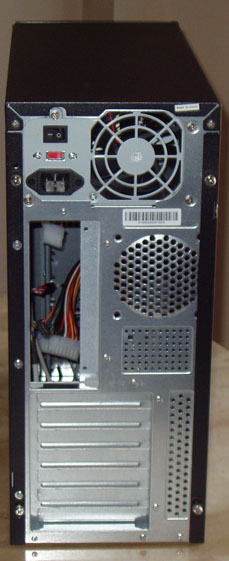
Fitting It All In: From Motherboard to Computer Power Supply WiringYour computer case needs to fit all required components: motherboard cpu combos, computer speaker cable, computer power supply wiring and more. Computer case reviews can also help you select a case that best fits your needs (because they are not all created equal). I always like to have a clean table to work on my case, with enough room to lay the case out, and still have room to work with the motherboard on the side. But if you don't have a table that big, you can work on the floor as well. Just be careful with smaller parts that you don't lose them. A word of caution when working directly on a carpeted floor, be careful with static electricity. Always make sure you ground yourself by touching the case frame before handling the components. If you have an anti-static bracelet, then you don’t need to worry about grounding yourself. Our first step is computer case preparation. Familiarize yourself with the layout of the case and where everything is going to be installed. A lot of cases use a similar layout, so once you know one, you are good to go on about 80% of them. If you decided on a custom case, the layout of your case will be a little different, but you will still recognize what is what. Take a few moments now to look over your case and recognize where everything is. Here is the basic case layout:
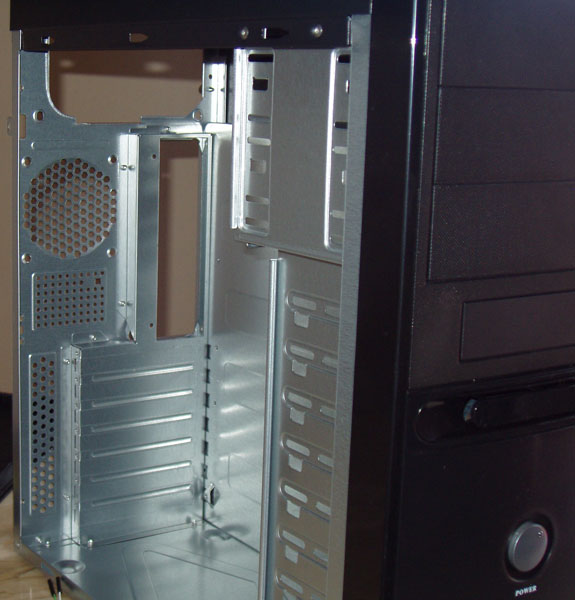
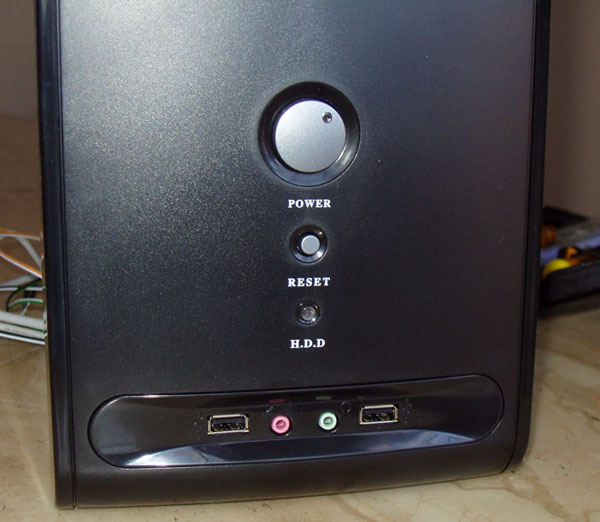
The large space in the middle is where the motherboard will go. On the right are the hard drive cages, and above them, the cage for the CD/DVD Drives. Top left is where our power supply will go, and the wires are what will connect our front panel LED's to the motherboard.
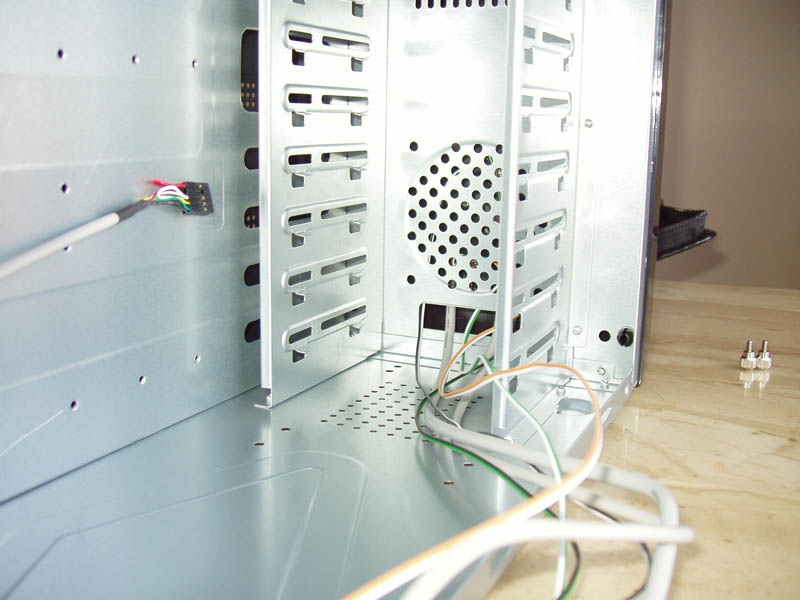
Now that you know where everything is, let's look at the connections within the case. You will see a group of wires that are connected to the front panel of your computer case. These wires will hook up the following...
So you are now familiar with your case layout, you know what will be going where, and you have all the parts ready. Let's move on to the motherboard... Step Five - Getting To Know Your Computer's Motherboard
Return to How To Build A Computer from Computer Case Return to Build Your Own Computer Home Page from Computer Case
|
What's New |
|||||||||||
|


Thanks for
|
||||||||||||
|
| Home Page | Motherboards | CPU | Memory | Computer Drives | Graphics | Power Supply
| Input Devices |
| Output Devices | Cooling | Cases | Modems | Troubleshooting | Computer Guides | Buying Guide | | Free Games | Computer Software | Green Computers | Ultra Mobile PC | Glossary | Builder's Corner | | Site Index | Contact Us | Advertising | Return to top
Copyright© 2008-2014. Voice Marketing Inc. All Rights Reserved. Read our Privacy Policy. |
||||||||||||