Search This Site

Custom Search
|
 |
|||||||||||||||||
Installing A Motherboard
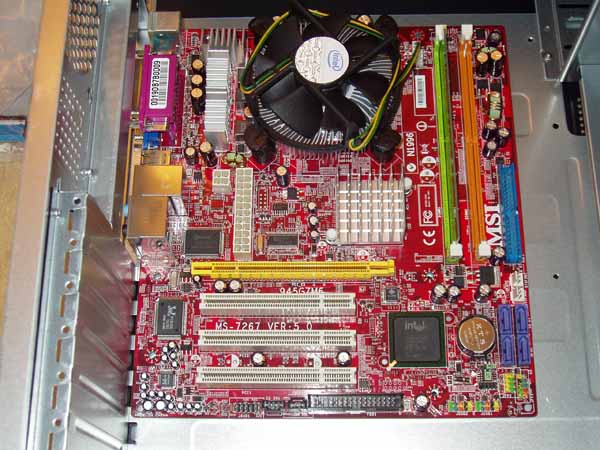
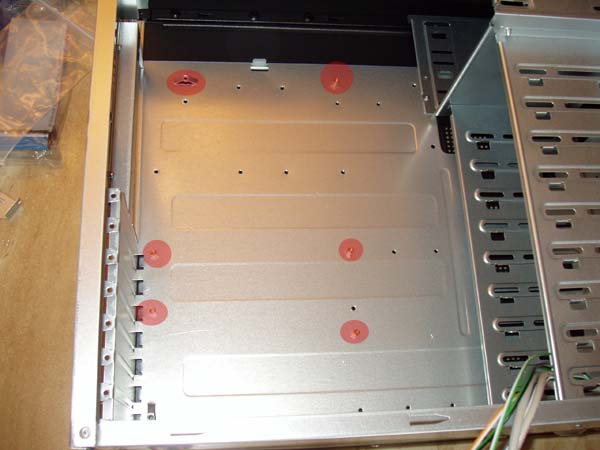
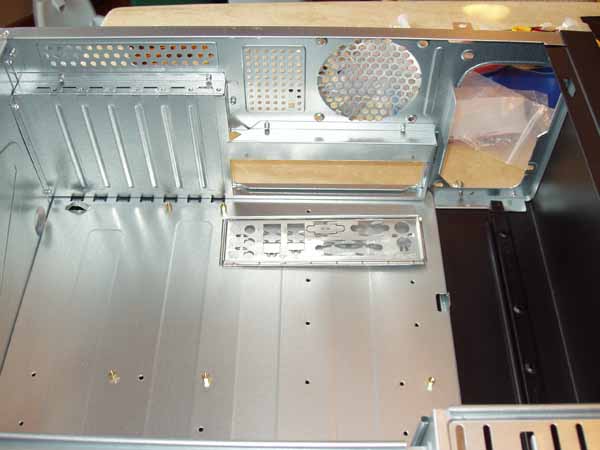
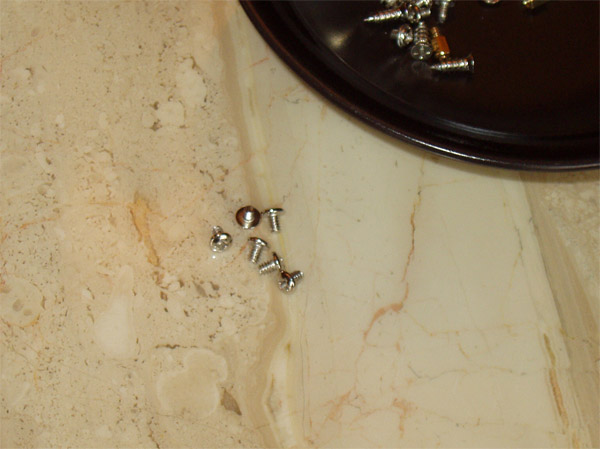
Our next step in the process is installing a motherboard. We will need the hex head screws and hex body screws that came with your motherboard for this step. Note: it's important to buy the right motherboard for your needs - the 'mobo' is the heart of your system so make sure you select for good quality (and a good warranty or return program).
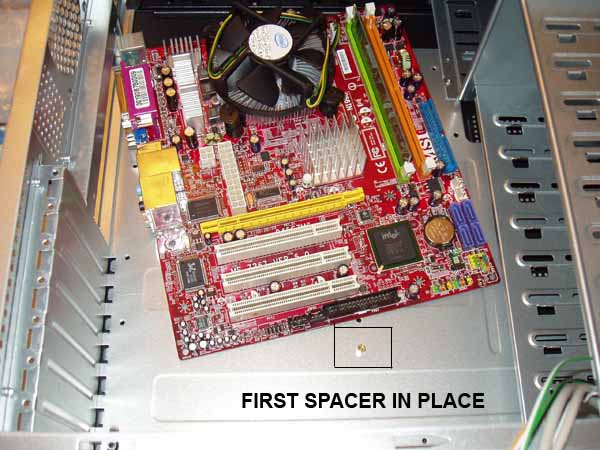
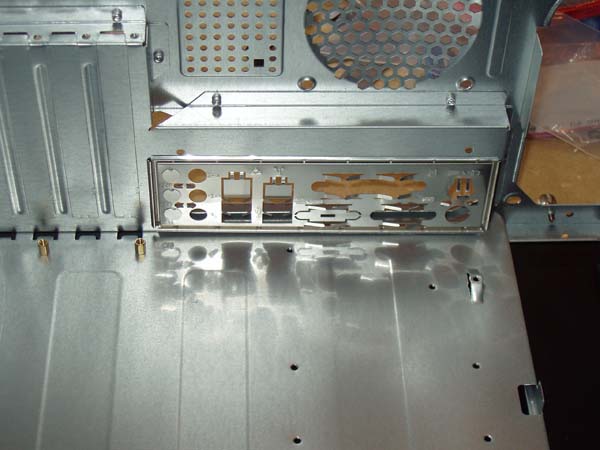
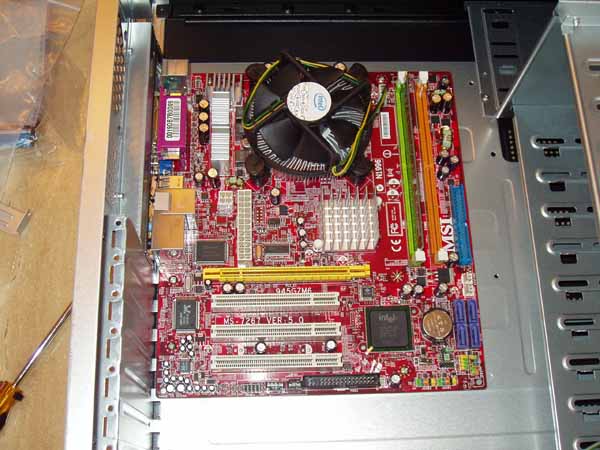
IMPORTANT: Some motherboards are a real tight fit against the back panel plate, and in order to get the screw holes lined up, you may need to brace the motherboard tightly against the back plate. This is not abnormal, just use gentle even pressure against the back plate, line up a hole and put a screw in. Do the same for a second hole and the motherboard will stay in place. With the motherboard in place, find the rounded top cross-tip screws, and screw them through the motherboard's holes into each of the hex screws you inserted earlier. Be careful not to let the screwdriver slip out and scratch the motherboard Get the screws in place and tighten them down. Don't over tighten the screws. Just get them snug in place.
Congratulations, you just installed a motherboard! Now, on to the power supply and power connections... Step Nine - Installing The Power Supply
Return to How To Build A Computer from Installing A Motherboard Return to Build Your Own Computer Home Page |
Here's What Visitors Have to SayAwesome site and very useful information that is to the point... Thank you for the hard work that you put into this site. This site is the best site on the net far as I am concerned and I will be refering this site on to my students. Once again, great site!!! Kristian, IT instructor from the U.K. Thank you for helping me to fix my pc motherboard led indicator. Dietram, Tanzania Hi, I found your site and all the wonderful tutorials. This is just the thing I'm looking for. Davey, Canada The hardest part of the build, I thought, was the wiring. And here your guide really shines. Most of the other computer build guides ignore it, or just say 'connect all the wires properly'. So thanks for the details! Donald, Netherlands |
|||||||||||||||||
|


|
||||||||||||||||||
|
| Home Page | Motherboards | CPU | Memory | Computer Drives | Graphics | Power Supply
| Input Devices |
| Output Devices | Cooling | Cases | Modems | Troubleshooting | Computer Guides | Buying Guide | | Free Games | Computer Software | Green Computers | Ultra Mobile PC | Glossary | Builder's Corner | | Site Index | Contact Us | Advertising | Return to top
Copyright© 2008-2014. Voice Marketing Inc. All Rights Reserved. Read our Privacy Policy. |
||||||||||||||||||