Search This Site

Custom Search
|
 |
||||||||||||||||||
Installing A Hard Drive
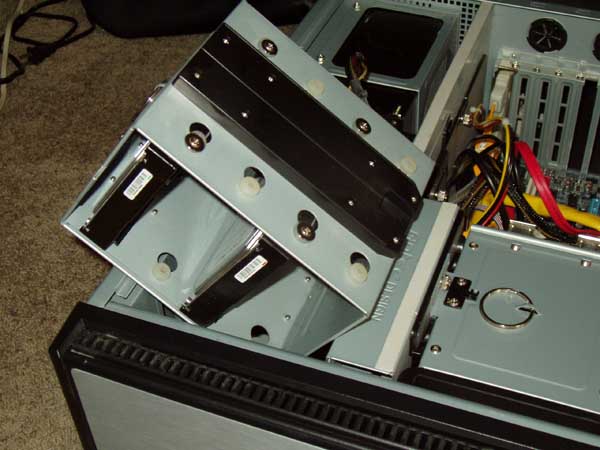
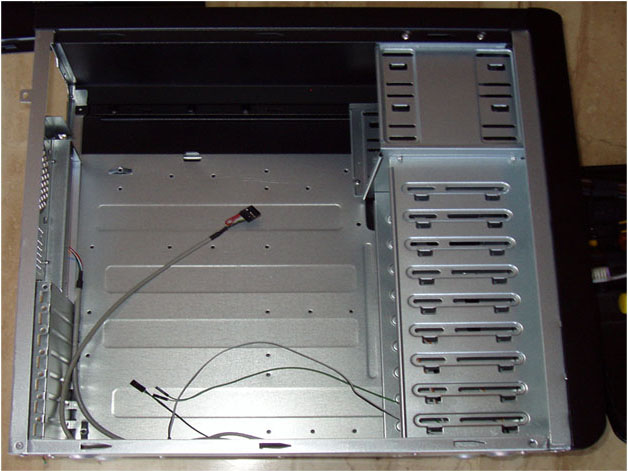
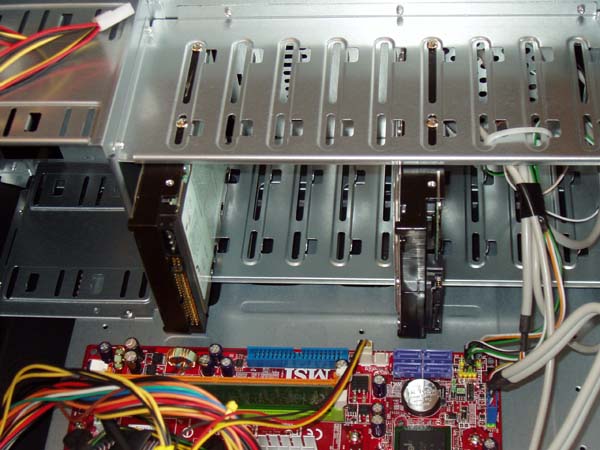
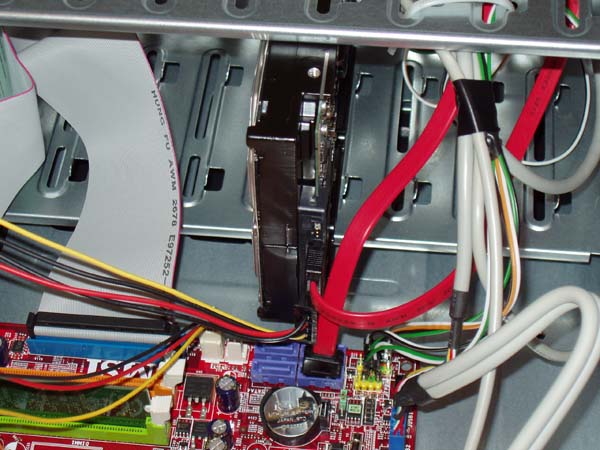
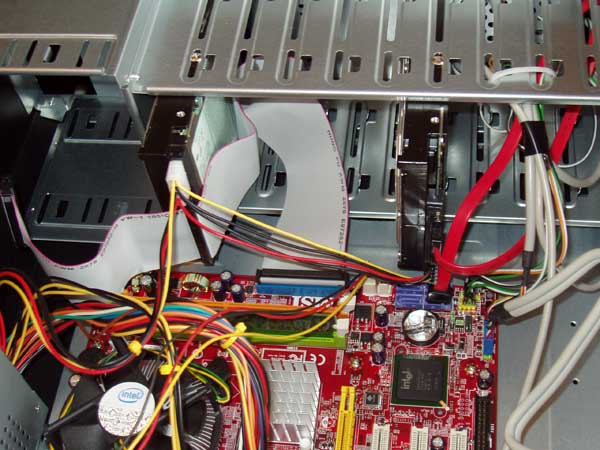
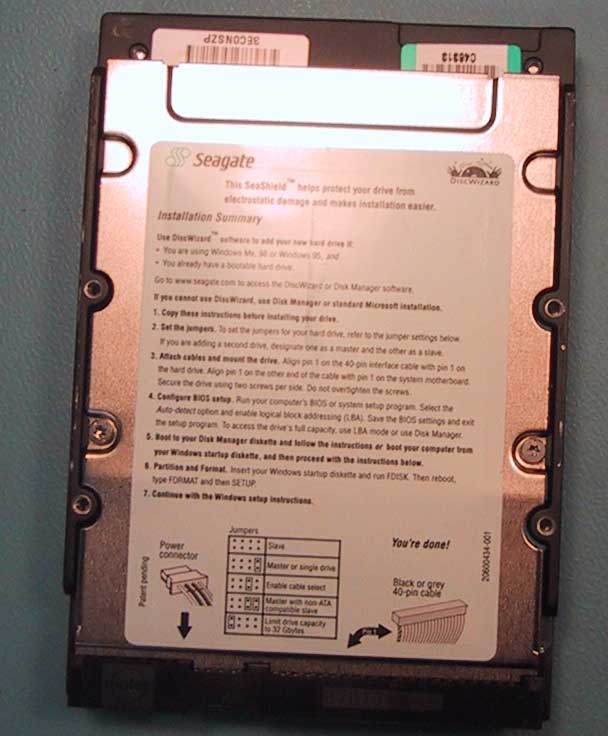
Hard Disk FormatInstalling a hard drive and setting up the hard disk format is the next step in this computer build. Hard drive not recognized by the system? You will find out what to do here. Do you have hard drive retrieval procedures? If not, make sure that you develop them (and back up your hard drive). Next up is installing a hard drive. This installation guide includes hard drives, CD drives, and DVD drives. You have two options for connections. Almost all new drives now come with SATA connections, however, you may still find some with IDE connections. Hard disk format (and partition) is done with your operating system; you need to make sure you prepare the hard disk and determine the file system type before you begin. Start the InstallationWith your motherboard you should have received an IDE cable, and at least 2 SATA cables.   You should also have received a bunch of rails. These may also be located on the bottom of your case. Some cases have a holder there for them. Let's start with installing a computer hard drive.
That's it for installing a hard drive. We're moving right along here, and are nearly complete with the assembly. Next up are the DVD and floppy drives... Step Twelve - Installing A DVD Drive
Return to How To Build A Computer from Installing A Hard Drive. Or return to Build Your Own Computer Home Page. |
Here's What Visitors Have to SayAwesome site and very useful information that is to the point... Thank you for the hard work that you put into this site. This site is the best site on the net far as I am concerned and I will be refering this site on to my students. Once again, great site!!! Kristian, IT instructor from the U.K. Thank you for helping me to fix my pc motherboard led indicator. Dietram, Tanzania Hi, I found your site and all the wonderful tutorials. This is just the thing I'm looking for. Davey, Canada The hardest part of the build, I thought, was the wiring. And here your guide really shines. Most of the other computer build guides ignore it, or just say 'connect all the wires properly'. So thanks for the details! Donald, Netherlands
Need help diagnosing computer problems or challenges? Check out our troubleshooting page for common computer building issues. |
||||||||||||||||||
|


What's New |
|||||||||||||||||||
|
| Home Page | Motherboards | CPU | Memory | Computer Drives | Graphics | Power Supply
| Input Devices |
| Output Devices | Cooling | Cases | Modems | Troubleshooting | Computer Guides | Buying Guide | | Free Games | Computer Software | Green Computers | Ultra Mobile PC | Glossary | Builder's Corner | | Site Index | Contact Us | Advertising | Return to top
Copyright© 2008-2014. Voice Marketing Inc. All Rights Reserved. Read our Privacy Policy. |
|||||||||||||||||||