Search This Site

Custom Search
|
 |
||||||||||||||||||||||||||||||
Install A CPU
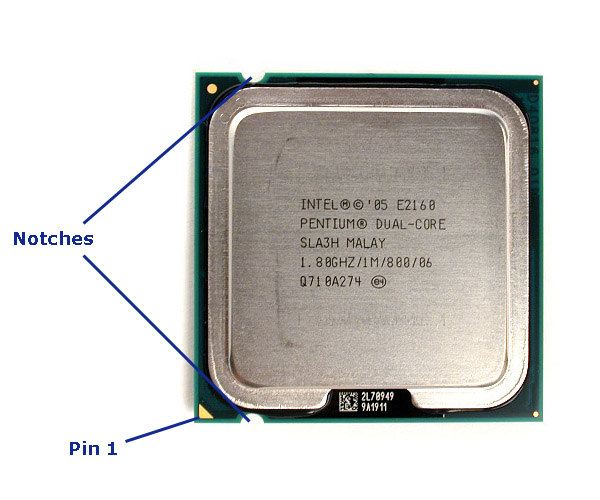
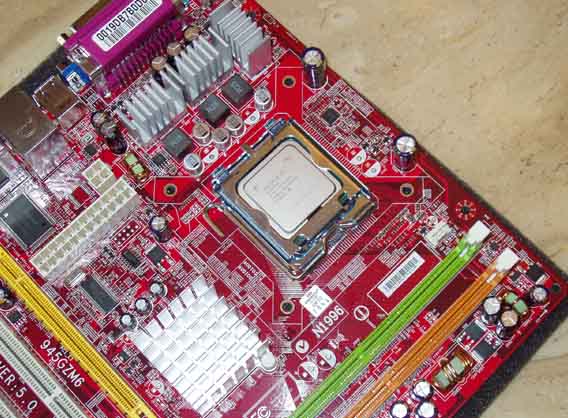
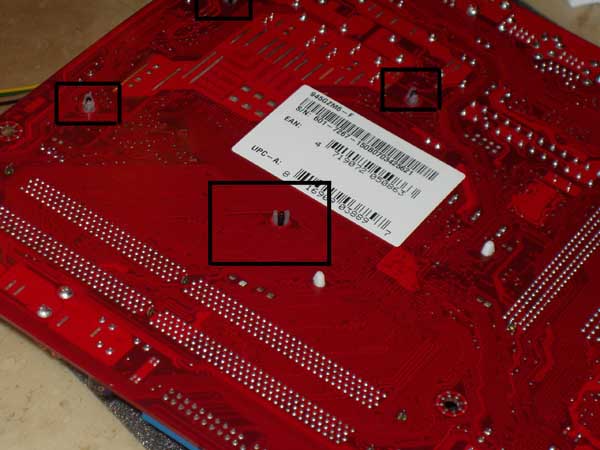
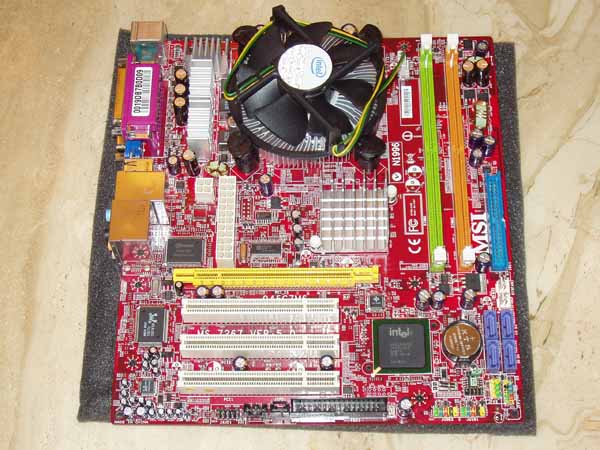
What is the Definition of CPU?How to install a CPU? What is the definition of CPU? To assess processing performance, run CPU benchmarks and make sure that you manage processor cooling (and overheating) through a CPU temperature monitor. Remember that the definition of CPU is central processing unit. If the motherboard is the heart of your system, the CPU is the brains of it! You need to ensure that you choose a CPU that is compatible with your motherboard; they are often sold in combination together. Now, we are ready to install a CPU. First off, remember to ground yourself before handling the CPU. Your computer CPU should have come with 3 main things:
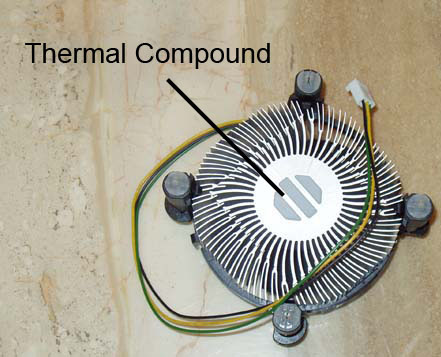
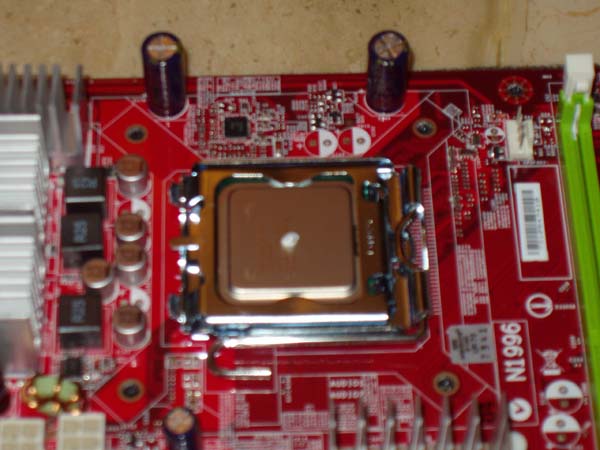
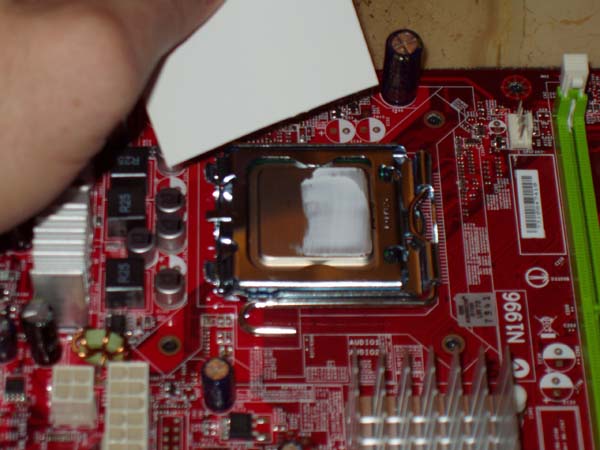
Note: If you did not get a tube of thermal paste with your CPU or motherboard, check the bottom of the heat sink. Some heat sinks come with the paste already applied. If your heat sink has the thermal compound already applied, then you don't need to worry about getting any. If there is no paste present, I would recommend running to your nearest computer store and grabbing a tube. It is pretty cheap, around $5.00, and you really should have some between the heat sink and CPU to maintain a good connection between the two and to keep your CPU temperature down.
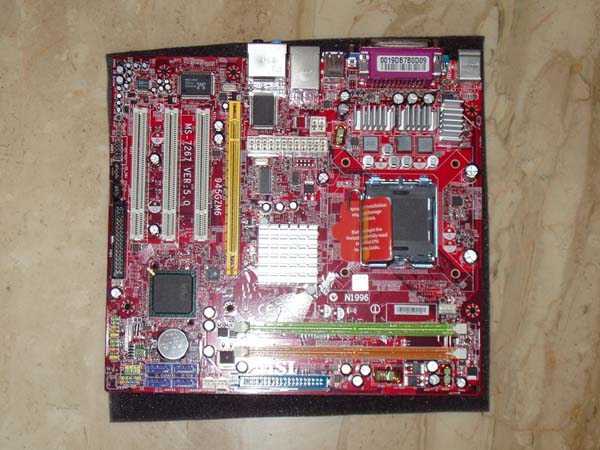
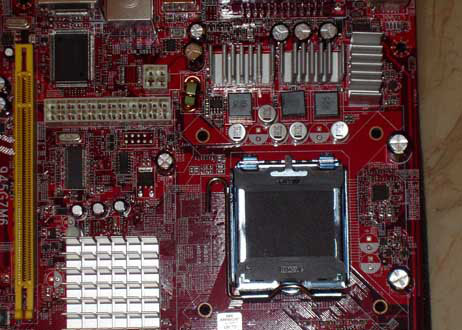
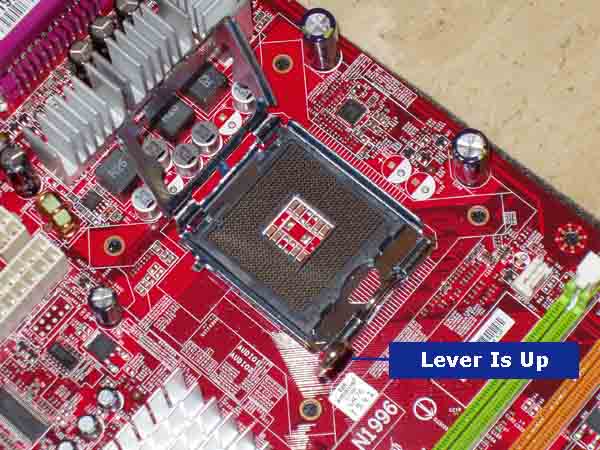
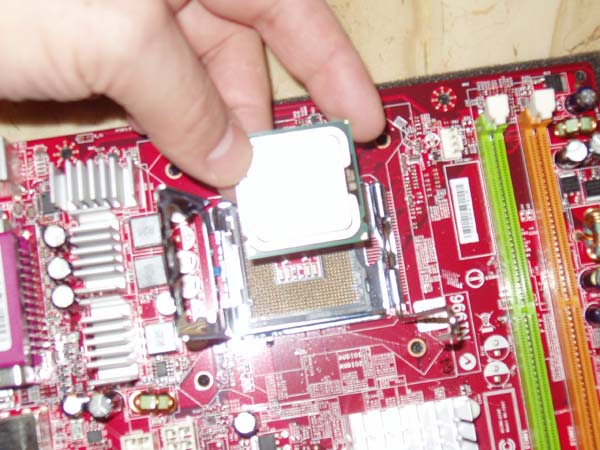
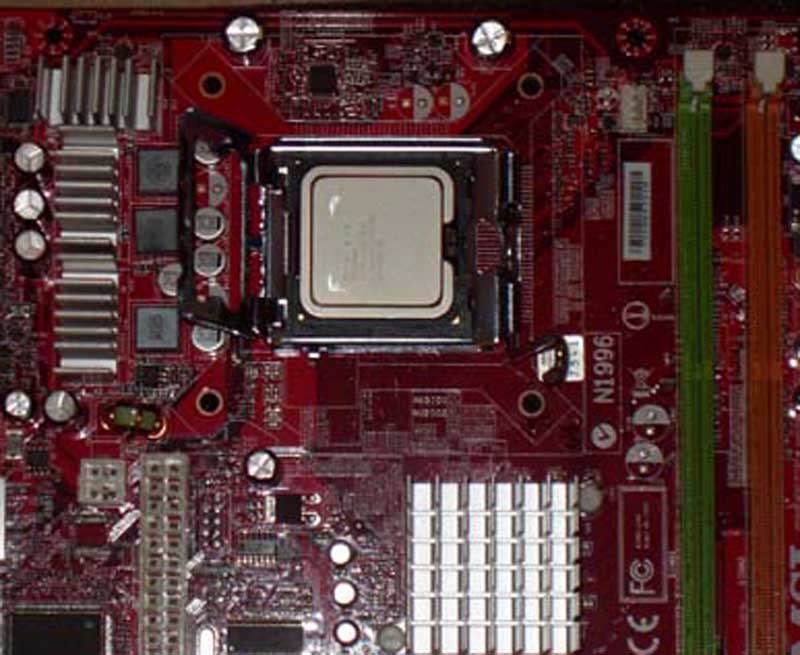
Install a CPUThe steps to install a CPU couldn't be easier. You just need to take it nice and slow, and be gentle with the processor.
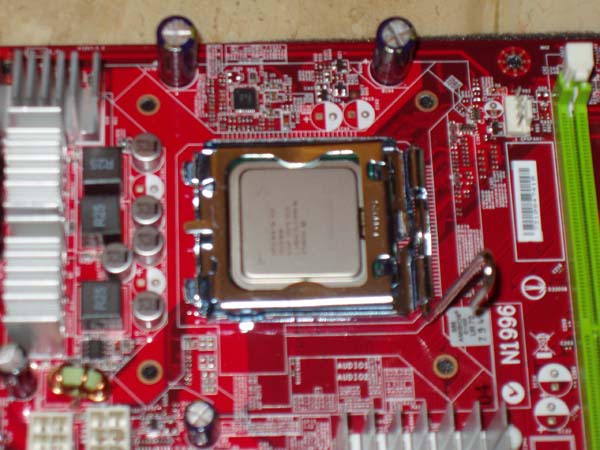
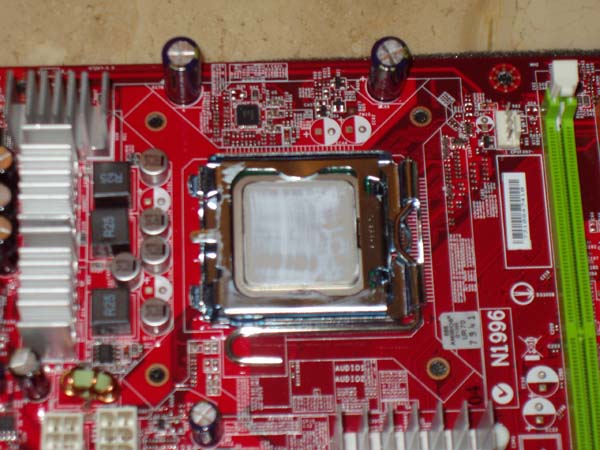
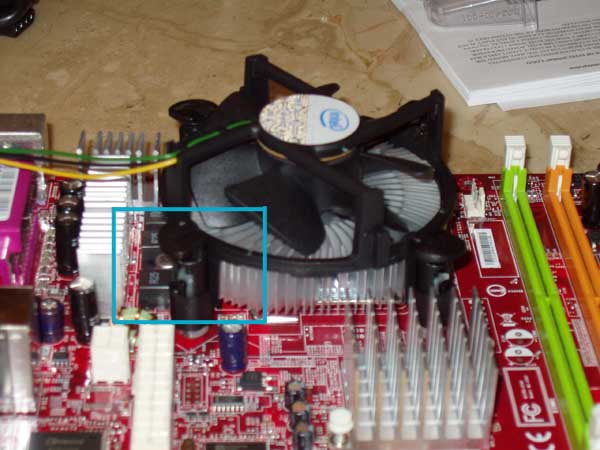
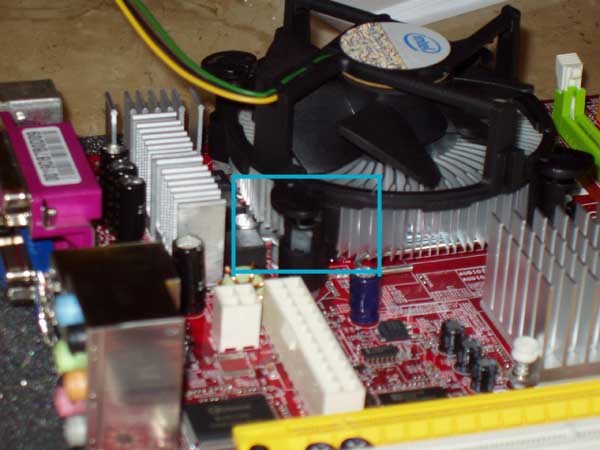
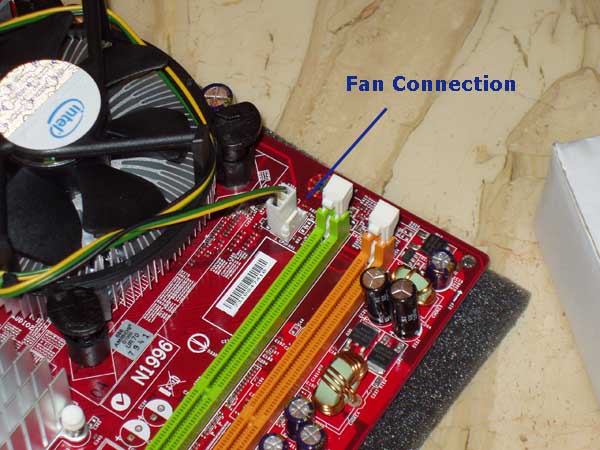
Ok, you have completed the steps to install a CPU - not too difficult. Next, we are going to install the heat sink. This is what keeps the CPU temp down (you need to ensure that you manage the temperature to prevent overheating - a CPU temperature monitor will help manage it). Note: If you bought an after-market heat sink, the instructions below will be similar. The vast majority of Heat Sinks will install the same as we are about to do. However, read over the instructions that came with the heat sink and note major differences. If there are a lot of variations compared to what is outlined below, follow the instructions that came with your heat sink. If your heat sink came with the thermal compound pre-applied, then you can skip to step 11 and install the heat sink directly. The thermal compound will activate automatically from the heat when you first use the CPU. Install the Heat SinkHere's what you need to do...
That's it! That's all it takes to install a CPU. With your CPU and heat sink good to go, let's move on to the system memory. Step Seven - Installing Computer Memory
Return From How to Install a CPU To How to Build A Computer Return to Build Your Own Computer Home Page |
Here's What Visitors Have to SayAwesome site and very useful information that is to the point... Thank you for the hard work that you put into this site. This site is the best site on the net far as I am concerned and I will be refering this site on to my students. Once again, great site!!! Kristian, IT instructor from the U.K. Thank you for helping me to fix my pc motherboard led indicator. Dietram, Tanzania Hi, I found your site and all the wonderful tutorials. This is just the thing I'm looking for. Davey, Canada The hardest part of the build, I thought, was the wiring. And here your guide really shines. Most of the other computer build guides ignore it, or just say 'connect all the wires properly'. So thanks for the details! Donald, Netherlands |
||||||||||||||||||||||||||||||
|


|
|||||||||||||||||||||||||||||||
|
| Home Page | Motherboards | CPU | Memory | Computer Drives | Graphics | Power Supply
| Input Devices |
| Output Devices | Cooling | Cases | Modems | Troubleshooting | Computer Guides | Buying Guide | | Free Games | Computer Software | Green Computers | Ultra Mobile PC | Glossary | Builder's Corner | | Site Index | Contact Us | Advertising | Return to top
Copyright© 2008-2014. Voice Marketing Inc. All Rights Reserved. Read our Privacy Policy. |
|||||||||||||||||||||||||||||||