Search This Site

Custom Search
|
 |
||||||||
Installing A Power Supply
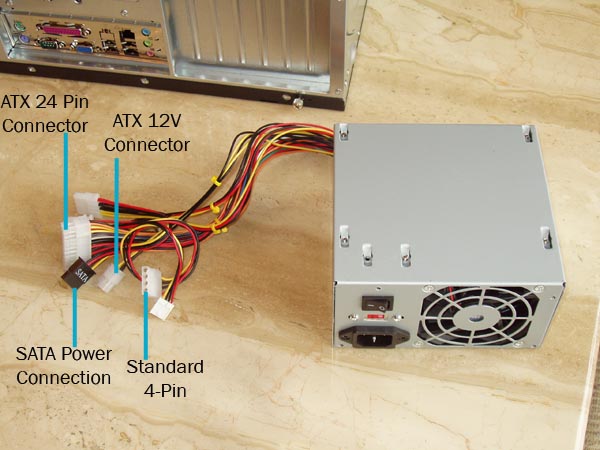
The next step is installing a power supply and hooking up power to the motherboard. Included with your computer power supply should be at least 4 screws, sometimes more. These are what will hold the power supply in place. If it didn't come with screws, borrow a few from the bag of screws that came with the motherboard. Note: You will always end up with extra screws. I put them in a small bag and store them with the rest of the component materials in a small box.
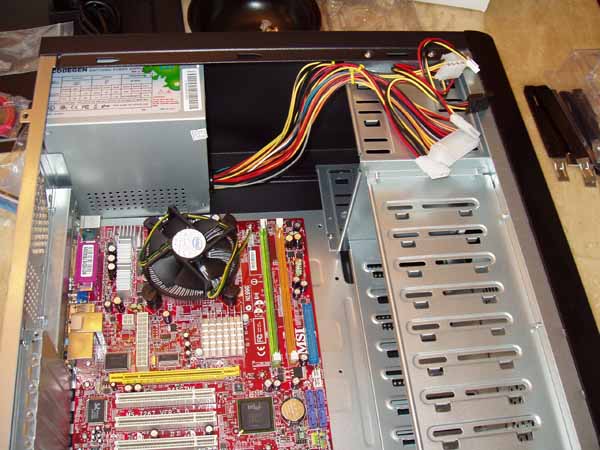
(Optional) If your computer power supply and motherboard came with a 2X ATX power connection, you should connect that now as well. You will most likely have one of these if your CPU is an Intel Extreme Edition CPU. These are higher end CPU's, so most setups will not use this. See label "E" on the motherboard diagram for the location of this connection This is a good time to verify your pc power supply setting. Depending on which country you live in, verify that the voltage setting on the back of the power supply is set correctly. There may or may not be a small switch. If you do not have one, then you do not need to worry about the setting. Most European countries use 230, here in the U.S. we use 115. It should already be set correctly, but it's always good to verify. You'll probably notice that you have a lot of cables still coming from the power supply. Don't worry, those will get used shortly for your system fans, hard drives, dvd drives, etc. Speaking of wires, I should discuss some wiring basics. Some power supplies come with quite a few wires, and sometimes you will only use half of them when installing a power supply. We don't want these hanging all over inside the case. They can get caught in your case fans, block airflow, and just plain don"t look good. Once we have everything wired up, the best bet is to take all the extra wiring and bundle it up as tightly and neatly as you can. You can then attach it near the power supply at the top or bottom of your case. I use plastic zip strips for my wiring. When we start running more and more wires into the main area of the motherboard, feel free to get creative on running and securing the wires. The neater you can keep your case, the easier it will be to work with and keep clean in the future. As we go through the rest of the setup, keep an eye on the pictures and how I wire my case. I'm not claiming to be a pro at it, but I do try to keep it neat. 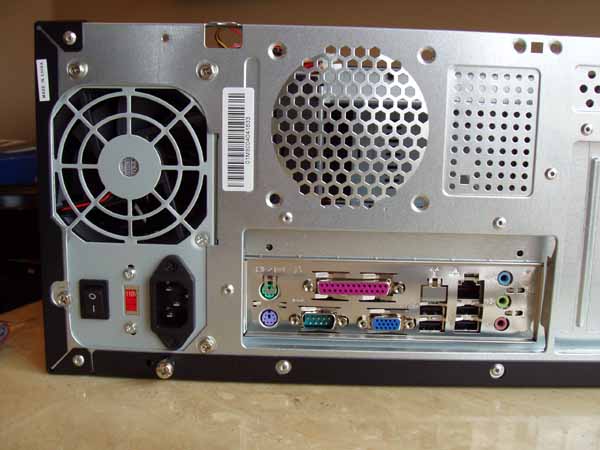
Ok, that's it for installing a power supply. Next up is computer wiring...
Return to How To Build A Computer from Installing A Power Supply Return To Build Your Own Computer Homepage |
|
||||||||
|


|
|||||||||
|
| Home Page | Motherboards | CPU | Memory | Computer Drives | Graphics | Power Supply
| Input Devices |
| Output Devices | Cooling | Cases | Modems | Troubleshooting | Computer Guides | Buying Guide | | Free Games | Computer Software | Green Computers | Ultra Mobile PC | Glossary | Builder's Corner | | Site Index | Contact Us | Advertising | Return to top
Copyright© 2008-2014. Voice Marketing Inc. All Rights Reserved. Read our Privacy Policy. |
|||||||||