Search This Site

Custom Search
|
 |
|||||||||||||||||||||||||
Install Windows Vista
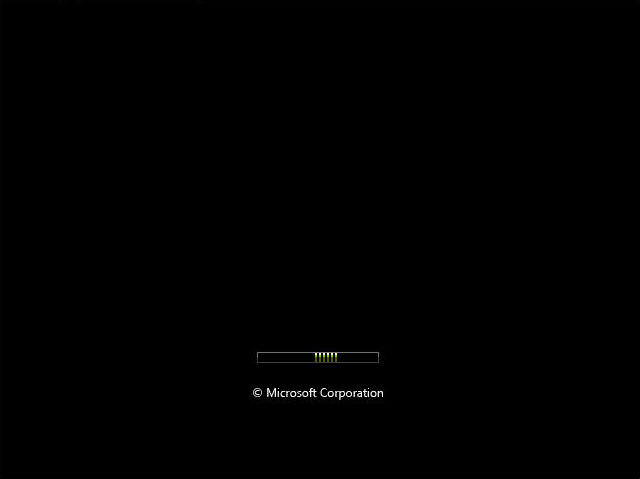
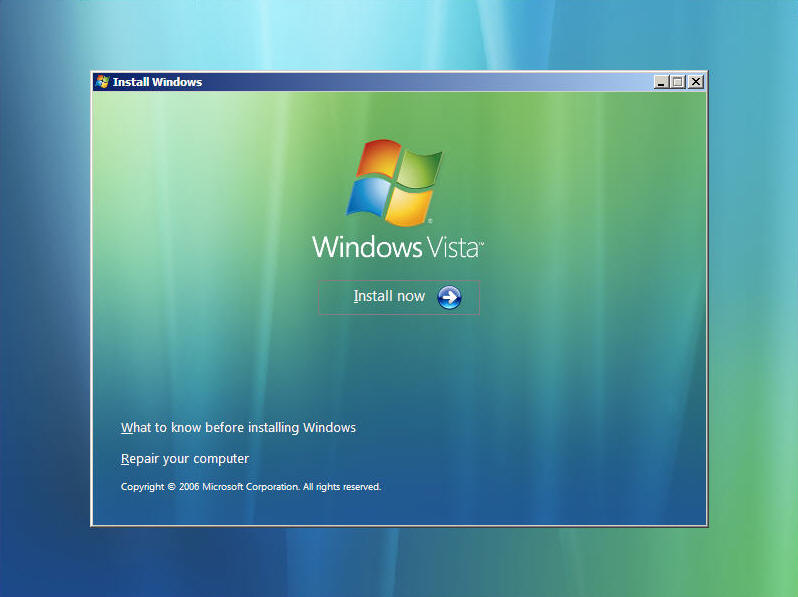
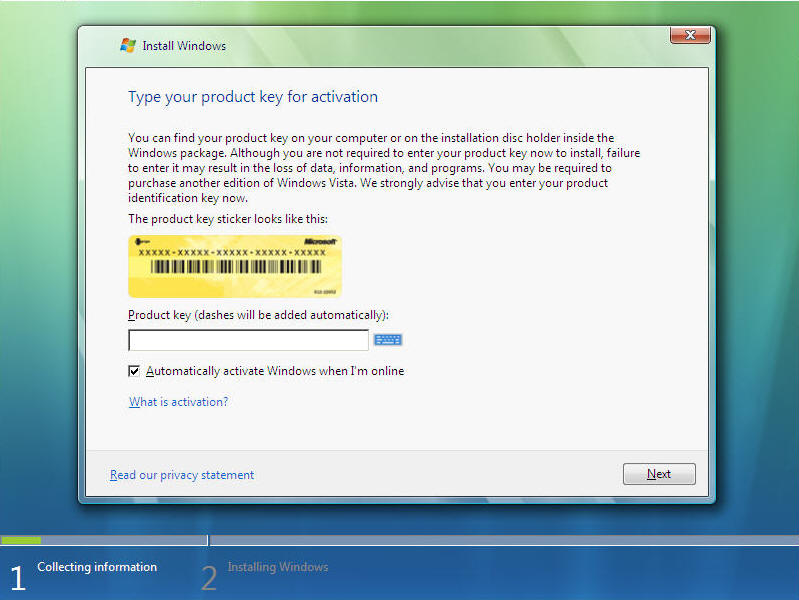
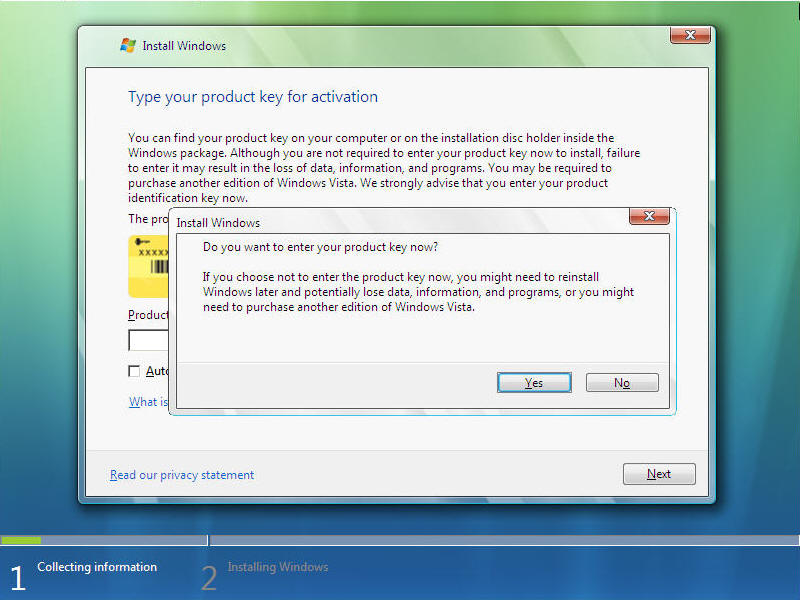
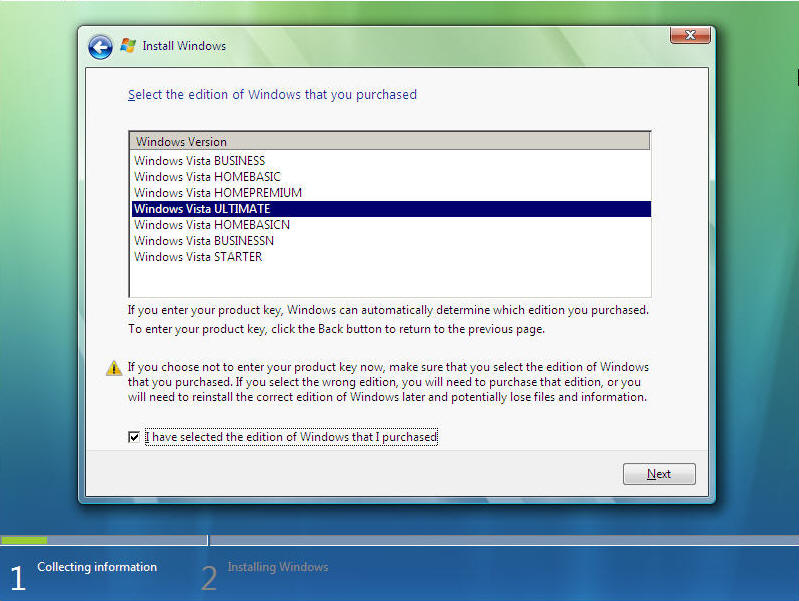
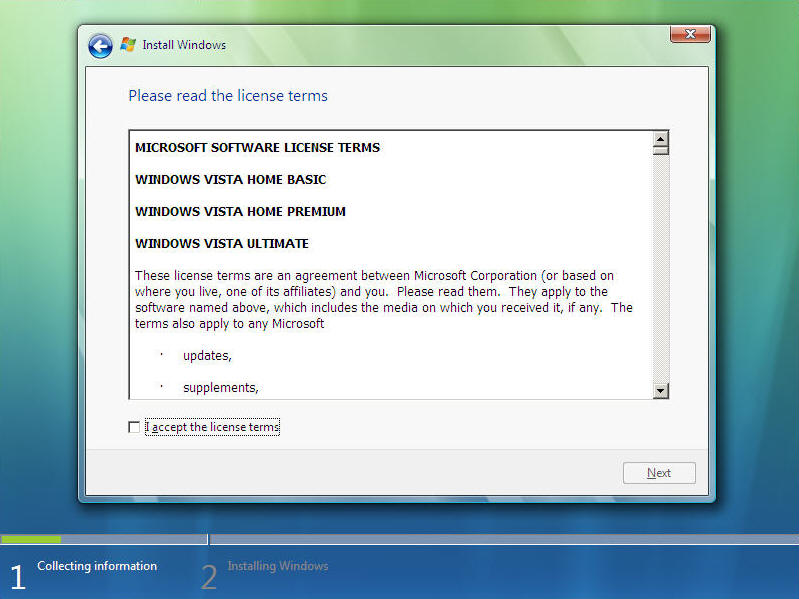
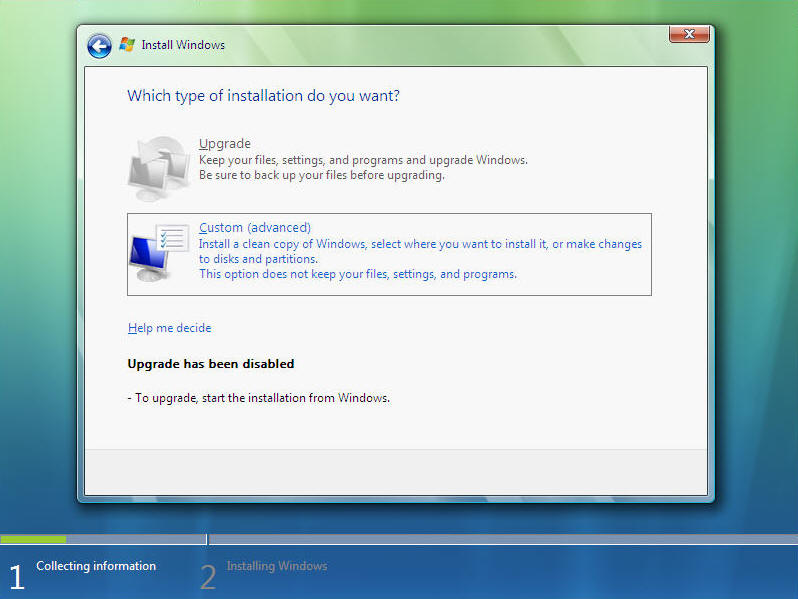
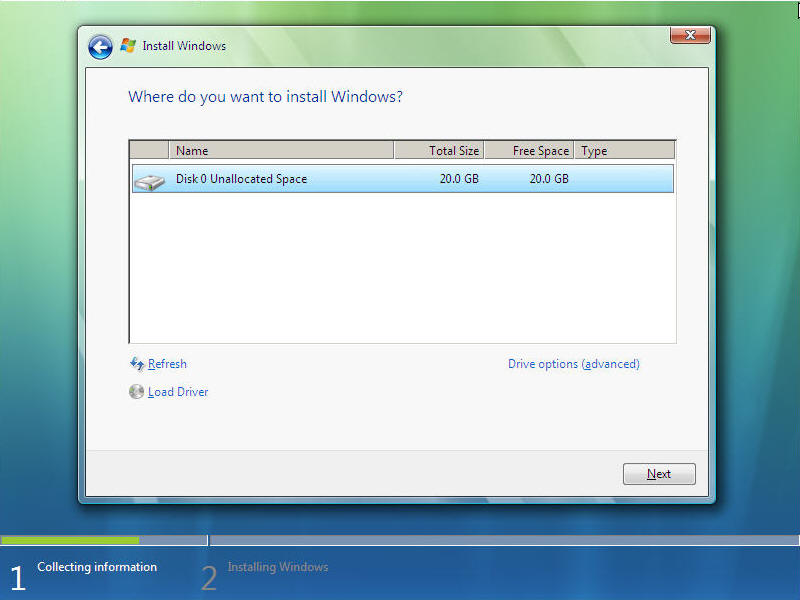
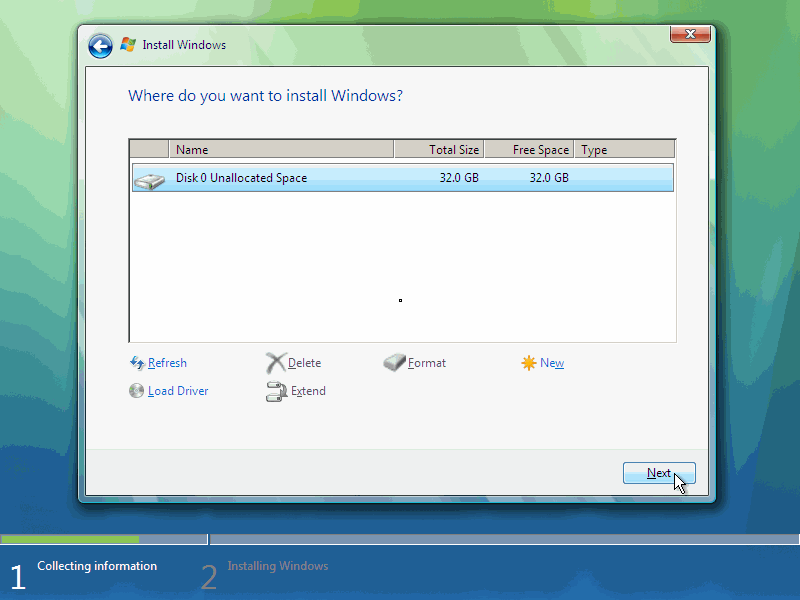
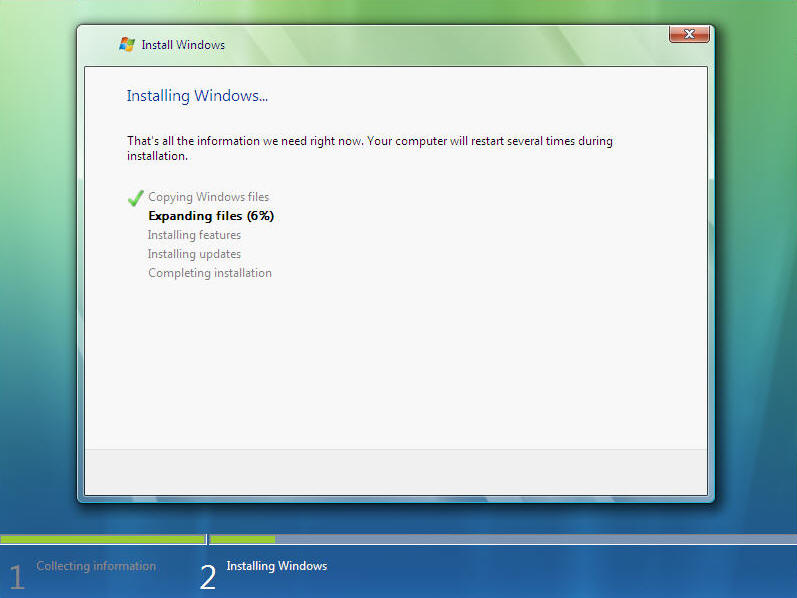
What is Operating System or OS?Install Windows Vista in your computer system. Use Windows Vista media center operating system for digital home entertainment. What is operating system? And which are the best operating systems? Here are the step by step instructions to install Windows Vista. It's a pretty straight forward install that will take you anywhere from 30 minutes to 3 hours. I have only had one install take longer than an hour, so you should have this done in under an hour. So drop the Vista DVD in the drive, and boot up your PC. Note: This guide assumes a clean install. If you are doing an upgrade from an earlier version of Windows, then you will want to start the upgrade process while your computer is already booted into your older Windows version. Simply insert the Windows Vista DVD into the drive. If you have autoplay turned on, your computer will bring up the starting point for the upgrade. If not, you may need to browse in Windows Explorer to your DVD drive and start the setup manually. Ok, let's get started...
Note: Your computer will reboot a few times during the install. After the last reboot, you will have a few final screens where you will enter your computer name, your name etc... Once you are past these... That's it! Your install Windows Vista is complete and ready to go. After the last reboot, you will be taken into Vista, and can remove your DVD. Store your DVD and the license key in a safe place. Computer operating systems are regularly updated and released; if you want, or need, to be current, you will need to keep on top of new releases and assess the benefits of upgrading (for example, if you have a home theater pc or are a gaming user then you may want to move up from Windows XP and implement the Windows Vista Media Center edition - which is specifically focused on your user needs). What is operating system (OS)? The OS is program and data software that interfaces between your computer's hardware and other system software. The operating system manages processes and hardware resources and hosts your computer applications. In the computing industry, there is much discussion about what are the best operating systems. I won't answer that here. Microsoft Windows has the major share of the market, and that has pluses and minuses for users. Return to Final Preparations - Computer Boot from Install Windows Vista Visit Install Windows XP if you want to understand how to install XP. Return To Build Your Own Computer Home Page |
What's New |
|||||||||||||||||||||||||
|


|
||||||||||||||||||||||||||
|
| Home Page | Motherboards | CPU | Memory | Computer Drives | Graphics | Power Supply
| Input Devices |
| Output Devices | Cooling | Cases | Modems | Troubleshooting | Computer Guides | Buying Guide | | Free Games | Computer Software | Green Computers | Ultra Mobile PC | Glossary | Builder's Corner | | Site Index | Contact Us | Advertising | Return to top
Copyright© 2008-2014. Voice Marketing Inc. All Rights Reserved. Read our Privacy Policy. |
||||||||||||||||||||||||||