Search This Site
Custom Search
Build Your Own Computer
HOME
What's New

Computer Help

Guides and more

Site Pages

Installing the DVD Drive

And What About DVD Troubleshooting?


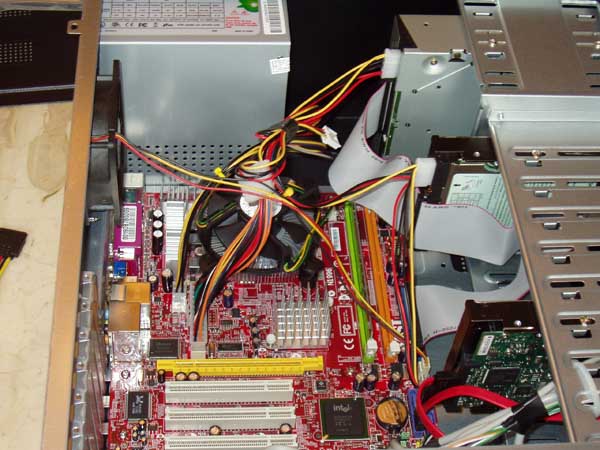
Installing your DVD drive into your case is similar to installing a hard drive into your computer system. Or adding external DVD drives to your system (simple plug-in). DVD troubleshooting of your drive requires finding the root cause of the problem.

While there is still a need for DVDs (at least to watch or run your old DVD copies), they are not as important as they used to be.

Many computer users find that they can download the video, or files, or graphics onto a flash drive and use that flash more easily (because not all computer systems have a DVD drive).

However it is important to understand the process of installation of your drive and to understand how to troubleshoot if, or when, necessary.

Therefore, the next step in the computer build is to install your drive.

Depending on your case, you may or may not need to connect rails to your drive. Some cases may have pre-installed rails you can just snap into. Go ahead and install the rails, 2 per drive if needed. In the case of our example here, the DVD drive is installed the same as a hard drive, attached directly to the non-removable cage.
installing a hard drive
Again, depending on the case, you may need to remove one of the slot covers on the front of the case. Most cases will need this done. You may either have a metal one that you can twist out, or a plastic one that you can just pop out.
install dvd drive
Or you may have both kinds, as is usually the case.
installing dvd drive
Slide the drive into the case from the front. You will hear the rails click when it is in position. It should be lined up with the front of the case.
install drive

Attach a power connection to the drive, directly from the power supply.


Then it is simply a matter of attaching either an IDE cable, or a SATA cable to the drive, and the other end to the motherboard. If you are using an IDE drive, see the above note on IDE connections.

dvd drive installation


Install Floppy Drive

Finally, if you have a floppy disk drive to install:

  1. There is only one location on modern cases to install your floppy drive. You will see on the front of the case a smaller panel that you can remove, usually below the DVD slots. This is where the floppy drive will be installed. Slide the drive in the slot and secure it inside, usually with a few screws. Make sure the front is lined up nicely with the front of the case.

  2. Connect a power cable to the drive, directly from the power supply.

  3. Connect the FDD cable to the drive, and to the FDD connection on your motherboard. See label "J" on the motherboard diagram. You will notice that the FDD connection is wider than the IDE connection.


hard drive installation

That's it for installing the DVD and floppy drives. You can also use external DVD drives (outside of the case); these are easy, plug in systems.

If your system needs DVD troubleshooting for drive issues, check out the computer troubleshooting page for more information.

Next up are graphics and sound cards...

Step Thirteen - Installing a Graphics Card.


Return to How To Build A Computer from DVD Drive.

Return To Build Your Own Computer Home Page.


FREE NEWSLETTER
The Builders Corner will help to keep you informed of new computer technologies.
Email

Name

More Information


I will never ever give out your email address.


Thanks for
Clear Guide

"Putting the parts together was relatively straightforward. The only snag we hit (my son & I) was getting the CPU fan aligned properly. We had 3 pins in, then noticed when we turned the board over that one wasn't through.

After struggling (carefully!) for 10 minutes, we loosened the other pins, aligned all the pins and we were away again.

The hardest part, I thought, was the wiring. And here your guide really shined.

Most of the other guides ignore it, or just say 'connect all the wires properly'. So thanks for the details (because the devil really is in those wiring details)."

Don, the Netherlands


Copyright© 2008-2014. Voice Marketing Inc. All Rights Reserved. Read our Privacy Policy.