Search This Site

Custom Search
|
 |
||||||||||||||||
How To Build A Home Theater PC, Part 1Here's the step-by-step guide on how to build a home theater PC. From the case to optical drives, and from the home theater speaker review to computer media players, let's get it all in place before we put it into your media center computer system. HTPC CaseFor more detail on how to install the various components, refer to the computer building guide in additional reading below and visit this page for more on computer case connections.
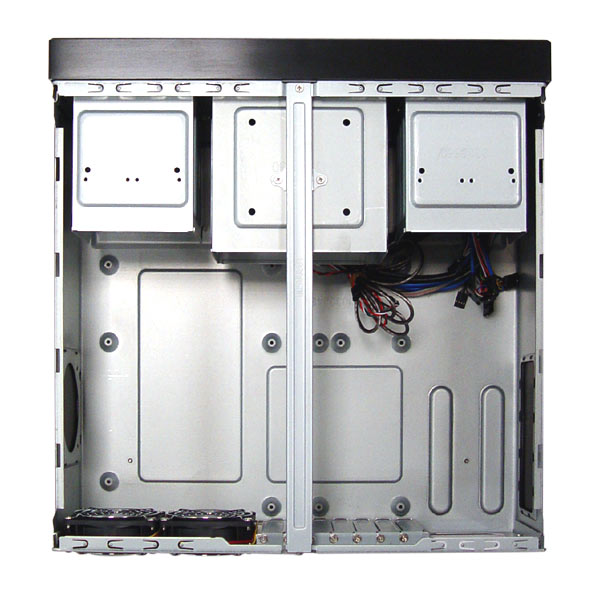
Start by opening up your HTPC/computer case. The first thing you should do is to take a moment and decide on the order that things need to be done. HTPC cases are usually a little tighter and less roomy than a computer case, so the order of installation may make a difference. This can also vary depending on the case you are using. In the case of the Silverstone SST-LC16B-M ATX, we'll start with the motherboard.
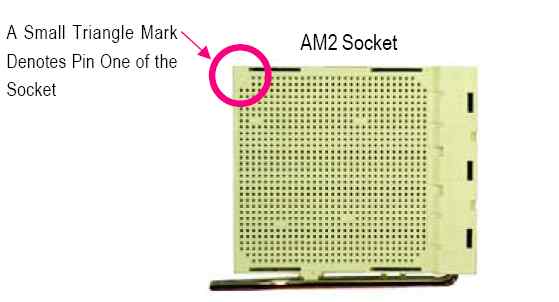
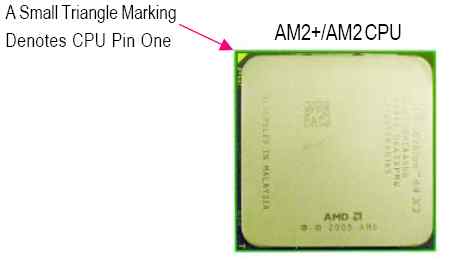
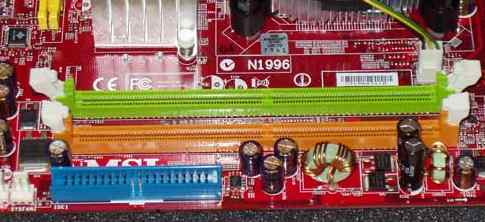
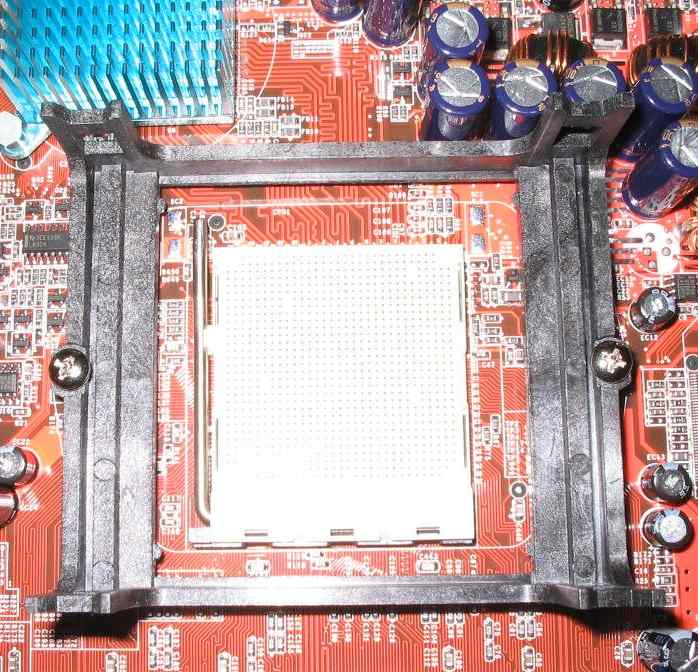
CPU and Memory
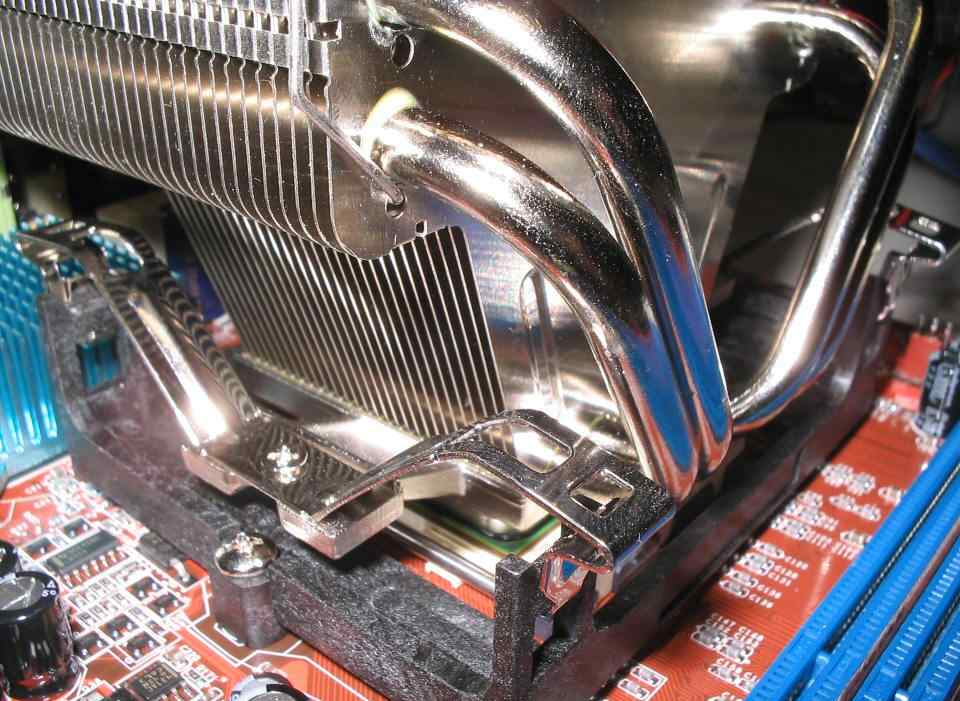
CPU HeatsinkNote: Whether you build a computer or build a home theater PC, installing a heatsink is fairly universal, but there are exceptions. Refer to your heatsink manual to ensure that there are no extra steps required.
Additional Reading:So far so good? You have just taken the first steps to build a home theater PC - let's continue... Return to Media Center PC, Part 1 Return to Media Center, Part 2 Continue on to Part 2 of How To Build A Home Theater PC Return to Computer Guides from How To Build A Home Theater PC Return to Build Your Own Computer Home Page |
What's NewHere's What Visitors Have to SayAwesome site and very useful information that is to the point... Thank you for the hard work that you put into this site. This site is the best site on the net far as I am concerned and I will be refering this site on to my students. Once again, great site!!! Kristian, IT instructor from the U.K. Thank you for helping me to fix my pc motherboard led indicator. Dietram, Tanzania Hi, I found your site and all the wonderful tutorials. This is just the thing I'm looking for. Davey, Canada The hardest part of the build, I thought, was the wiring. And here your guide really shines. Most of the other computer build guides ignore it, or just say 'connect all the wires properly'. So thanks for the details! Donald, Netherlands |
||||||||||||||||
|


|
|||||||||||||||||
|
| Home Page | Motherboards | CPU | Memory | Computer Drives | Graphics | Power Supply
| Input Devices |
| Output Devices | Cooling | Cases | Modems | Troubleshooting | Computer Guides | Buying Guide | | Free Games | Computer Software | Green Computers | Ultra Mobile PC | Glossary | Builder's Corner | | Site Index | Contact Us | Advertising | Return to top
Copyright© 2008-2014. Voice Marketing Inc. All Rights Reserved. Read our Privacy Policy. |
|||||||||||||||||